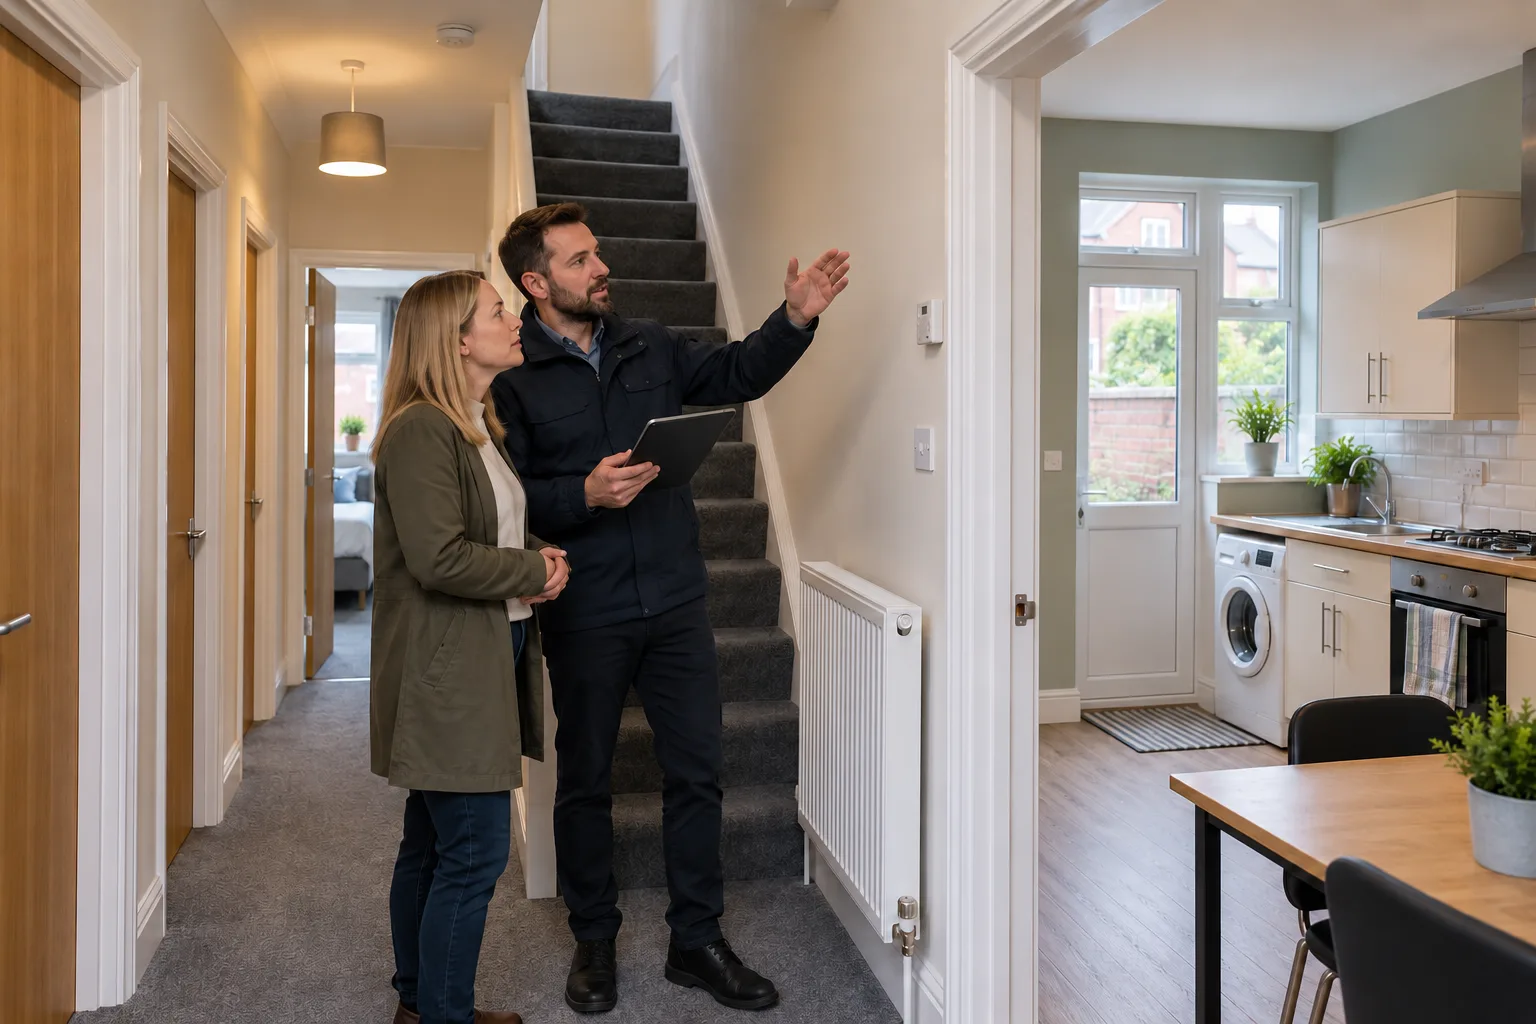

Photograph insulation and other hidden energy work before it is covered. This landlord checklist explains what context to capture and why photos are supporting evidence, not a guaranteed EPC input.
If energy work will disappear behind plasterboard, floorboards or loft boarding, the useful time to create a clear record is before it is covered. A few property-specific photographs, kept with the invoice, specification and completion documents, can help an accredited assessor understand what was installed and where.
Photographs are supporting evidence, not an automatic passport to a better EPC. A close-up of insulation with no identifiable property context may prove very little. The assessor remains responsible for validating the input, and only a newly completed and lodged assessment can change the certificate on the register.
The short answer: take context, detail and completion photos
For each hidden energy-efficiency measure, capture a short sequence: where the work is in the property, what has been installed, the thickness or product detail where relevant, how much of the element was treated and what the completed area looks like before it is closed up. Keep the original files and match them to address-specific paperwork.
Do not assume a time stamp, geotag or photograph makes the evidence acceptable by itself. The current RdSAP conventions require the assessor to be confident that evidence relates to the actual dwelling and completed work, with nothing physical or documentary contradicting it. Evidence of an intention to install is not enough on its own.
Use this checklist alongside the broader landlord EPC evidence guide, which owns the overall document-pack intent. This article covers the narrower question of photographs taken during work.
Why renovation-stage photographs can matter
The government’s guide to domestic Energy Performance Certificates explains that some features, including cavity-wall or underfloor insulation, may not be visible during an existing-home survey. Without supporting information and evidence, the assessor may be unable to include the feature.
The problem is practical. Once internal wall insulation is plastered, a suspended floor is relaid or a loft is fully boarded, the assessor cannot simply open the building fabric. A photograph taken at the right stage can preserve visual context that no longer exists at the assessment visit.
That does not make every photograph conclusive. Current BRE conventions distinguish acceptable documentary evidence from evidence that only shows an intention. They allow visual evidence to support an upgrade in defined circumstances, but the assessor must still connect it to the dwelling, the element and the completed work.
A five-photo sequence for each hidden measure
- Start with an exterior or room-context image that makes the location within the rental recognisable without exposing tenant personal data.
- Take a wider image showing the whole wall, floor, roof slope or other element being treated, not only a product close-up.
- Take a clear detail image of the installed material before it is covered, including a visible measurement where thickness is relevant and safe to record.
- Capture junctions, edges and any untreated area so the assessor can understand coverage rather than infer that one sample represents the whole property.
- Take a final overview before closing up, then link the photo set to the invoice, specification, installation date and property address.
The sequence is an evidence-organising method, not a statutory photo template for existing-home EPCs. Ask the intended assessor or accreditation scheme what it can use before relying on the images, especially where the work is unusual or the specification is critical.
What to photograph for common EPC inputs
Internal, external and cavity-wall insulation
For internal wall insulation, show the original wall location, installed material, thickness where it can be measured, fixings and the treated extent before the lining is closed. For external wall insulation, keep elevation context, installation records and completion evidence. For cavity work, preserve the address-specific certificate or guarantee and any useful installation evidence; drill patterns alone may be ambiguous.
Cavity-wall records have their own rules and common failure points. Use the dedicated guide on how to prove cavity-wall insulation for an EPC rather than treating one image of a filled hole as complete proof.
Suspended-floor insulation
Take an overview of the lifted floor area, the insulation between joists and enough surrounding room context to identify the location. Show the depth, support system and extent before boards are replaced. Do not compromise sub-floor ventilation, cover defects or enter an unsafe void simply to take a photograph.
A product wrapper on the floor is not evidence that the material was installed throughout the relevant element. Keep the installer’s scope, invoice and any building-control or project records with the images.
Loft and roof insulation
Where access is safe, photograph the loft area, measured insulation depth, coverage at more than one representative point and any boarding or obstruction. Keep roof-room or rafter work separate from insulation at joist level so the photo set does not blur different construction elements.
The current RdSAP conventions contain specific rules for inaccessible, obstructed and boarded lofts. Photographs can help with context, but they do not authorise an owner to lift unsafe boards or require an assessor to accept an unsupported thickness.
Windows, doors, heating and renewables
For windows and doors, keep certificates, manufacturer information and installation records; clear images of spacer-bar or frame dates can be useful when they are legible and belong to the assessed opening. For boilers, heat pumps, cylinders, controls, solar and batteries, photograph the installed equipment, its location and model or rating plate where it can be read safely.
Do not rely on the photograph instead of the commissioning record, certification or property-specific system details. Some inputs require defined documents or verification beyond a general image.
Make the property connection obvious
The most common weakness is a technically clear close-up with no way to show which dwelling, room or building element it belongs to. Use a logical folder and file-name sequence, and place a simple index at the front of the evidence pack.
- Record the full property address in the index, not on a sign held inside every image.
- Identify the room, elevation or building part and the stage of work.
- Keep the original file date and metadata where available, but do not treat metadata as conclusive proof.
- Match the image numbers to the contractor’s scope, invoice, specification and completion record.
- Keep tenant possessions, faces, correspondence, meter serial numbers and other personal data out of the frame where they are not necessary.
Send the organised pack before the EPC visit. The assessor can then say whether further records, measurements or access are needed, rather than discovering a gap after the work is concealed.
Photographs that are unlikely to settle the input
Weak photo evidence often lacks property context, scale, coverage or a connection to completed work. Treat the following as warning signs:
- a close-up of insulation with no identifiable room, wall, floor or roof context;
- a product pack, quotation or delivery photo that does not show installation;
- an image copied from a contractor, neighbour or another property;
- one small treated patch presented as proof that the whole element was insulated;
- an edited, annotated or compressed image where the original is no longer available;
- a photograph taken after the work is covered, showing only finished plaster or floorboards.
Never recreate a work-stage image, move a product into shot or edit a photograph to make the evidence look stronger. If the record is incomplete, describe the gap honestly and ask what other inspection, documentary or measured route may be valid.
What the current RdSAP conventions actually say
The live BRE RdSAP 10 conventions version 12.2, applicable from 6 August 2026, say acceptable documentary evidence includes documents verifying that work has been carried out. The assessor must be able to demonstrate that the documents relate to the property or completed work and that no evidence contradicts them.
The same conventions say evidence of intent alone does not qualify. In defined cases, planning or similar evidence of intent can be supported by later Building Control oversight or visual evidence that the upgrade occurred. That is why a coherent pack is stronger than a loose photograph, but acceptance remains an assessor responsibility.
The conventions also contain element-specific rules. For example, they address documentary evidence for boarded lofts, U-value calculations, window data and converted buildings. A generic photo checklist cannot replace those rules.
Photos do not change an existing lodged EPC
An evidence pack can help a new assessment reflect the property more accurately when the information is accepted. It does not edit the certificate already on the register, create a fixed number of EPC points or guarantee band C. The result only changes when an accredited assessor uses the permitted input and lodges a new EPC.
If the landlord is preparing for the visit, the separate EPC room-access checklist covers safe access to rooms, the boiler and loft. Do not substitute photographs for access where the method requires the assessor to inspect the feature.
Use the evidence pack to make a D-to-C spending decision
The commercial value is avoiding unnecessary work before the real rating gap is understood. Start with the current numerical score, identify material assumed or inaccessible entries, and ask which photographs and documents can support the actual property. Then compare accepted evidence with proportionate measures and any suitable heating or funding route.
The landlord D-to-C assessment plan explains that wider decision sequence. Photographs are one evidence tool within it, not a score-manufacturing shortcut.
Current law and the planned 2030 standard
Current domestic MEES guidance still sets an EPC E minimum for covered private rentals in England and Wales unless a valid exemption applies. The government has separately confirmed a planned higher private-rented standard from 1 October 2030, subject to legislation and implementation.
The government response on the future private-rented standard gives current-style EPCs showing EER C before 1 October 2029 intended transition value until the certificate expires or is replaced. The final product-level effects under future HEM-based EPCs are still not a safe basis for promising what a photograph or measure will achieve.
Start before the work is covered
A landlord who records hidden work at the right time has more options than one trying to reconstruct the project years later. Keep a short, honest photo sequence with the original property-specific documents, then let the accredited assessor decide what can be used.
Cucumber Eco can review a D-rated rental, its current EPC and the available evidence before you pay for major work or another certificate. The initial property assessment is free and without obligation.
Start your free EPC assessment and share the current certificate plus the evidence already linked to the property.
Primary sources
These primary sources were live-checked on 27 October 2026 for the claims used in this guide.
- Government guide to domestic Energy Performance Certificates: survey access, photographs and supporting-evidence boundaries for existing homes.
- BRE RdSAP 10 conventions version 12.2: current documentary-evidence and element-specific conventions, applicable from 6 August 2026.
- Current domestic private-rented MEES guidance: the present EPC E framework and exemption boundaries in England and Wales.
- Government response on the 2030 private-rented standard: planned compliance date, future metrics and transition treatment.
Frequently asked questions
These answers summarise the practical evidence boundaries for landlords.
Are photographs enough to prove insulation for an EPC?
Not automatically. Clear property-specific images can support visual evidence, but the assessor must apply the current conventions and decide whether the full evidence proves the relevant element and completed work. Keep certificates, invoices, specifications and completion records with the photos.
Do EPC photos need a date or geotag?
Keeping original dates and location context is useful, but a time stamp or geotag does not by itself make a photograph acceptable. The important question is whether the assessor can connect the image to this dwelling, this element and the work that was completed.
What should I photograph before floor or wall insulation is covered?
Take a room-context image, a wider view of the treated element, a clear close-up of the material and thickness where relevant, the edges and coverage, and a final overview before closing up. Match the sequence to the property address and contractor documents.
Will accepted photo evidence move a D-rated rental to EPC C?
There is no guaranteed points or band result. Accepted evidence may change a relevant input, leave the band unchanged or confirm what is already recorded. Only the complete new assessment and lodged EPC provide the final result.